


How to Remove Hair Extensions
Hair extensions have become a popular choice for those seeking to add volume, length, or a touch of glamour to their hair. However, there comes a time when they need to be removed, whether due to wear, the desire for a new look, or to give your natural hair a break. Proper removal is crucial to avoid damaging your natural hair, which is why understanding the correct techniques on how to remove hair extensions is essential. learn more in this article by Panache hair salon.
Understanding Hair Extensions
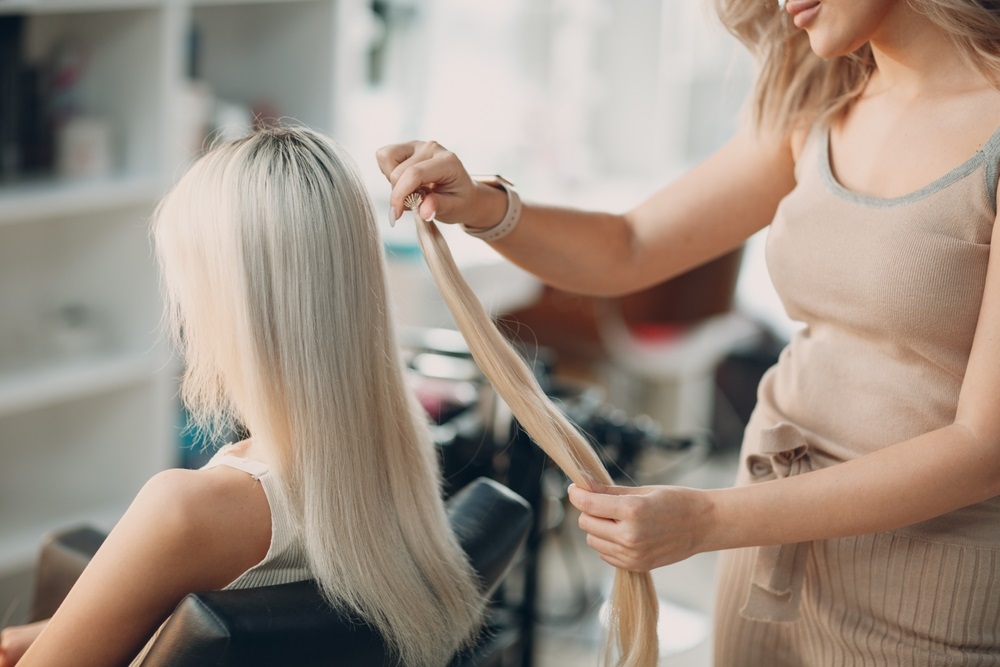
Hair extensions come in various types, each with its unique application method and lifespan. Tape-in extensions are popular for their ease of application and can last up to 6-8 weeks. Fusion or bonded extensions, known for their durability, can remain in place for up to 3-4 months. Clip-in extensions are temporary and can be removed and reapplied at will. Sew-in or weave extensions, often favored by those with thicker hair, can last 6-8 weeks, while micro-link extensions can last several months but require regular maintenance.
Understanding the type of extensions you have is the first step in ensuring a smooth removal process. Each type requires a different approach, and using the wrong method can result in unnecessary hair loss or damage. Knowing how to remove hair extensions of each type safely will protect your natural hair from potential harm.
The Impact of Hair Extensions on Natural Hair
While hair extensions can enhance your appearance, they can also put stress on your natural hair. This stress can lead to issues such as breakage, thinning, or even traction alopecia if not managed correctly. Regularly inspecting your natural hair for signs of damage is important, as is ensuring that extensions are not left in for too long. Knowing when and how to remove hair extensions is crucial to maintaining the health of your natural hair.
When Is the Right Time to Remove Hair Extensions?
Timing is everything when it comes to removing hair extensions. Leaving extensions in for too long can cause matting and make removal more difficult, increasing the risk of damage. On the other hand, removing them too soon might not give you the full benefit of your investment. A good rule of thumb is to follow the recommended duration for your specific type of extensions and to listen to your hair. If your scalp feels sore, or you notice excessive shedding, it might be time to consider how to remove hair extensions properly.
Preparing for Hair Extension Removal
Before beginning the removal process, gather all necessary tools to ensure a smooth experience. These might include a wide-tooth comb, extension pliers, adhesive remover (for tape-ins), a gentle detangling spray, and a pair of scissors for cutting out any bonds or wefts. Having these tools at hand can prevent frustration and reduce the time it takes to safely remove hair extensions.
Do’s and Don’ts Before Removing Extensions
Preparation is key to a successful extension removal. Start by washing your hair with a clarifying shampoo to remove any buildup that might interfere with the process. Avoid conditioning your hair before removal, as this can make it slippery and harder to work with. Patience is vital—rushing through the removal process can lead to tangles, knots, and even significant hair loss. Understanding how to remove hair extensions carefully will ensure you maintain the integrity of your natural hair.
Importance of Patience and Precision
Removing hair extensions requires a gentle touch and a lot of patience. Tugging or pulling at your hair can cause unnecessary strain on your natural strands. Working slowly and methodically will help you avoid damaging your hair. It’s also important to take breaks if you feel frustrated or if the process is taking longer than expected. Knowing how to remove hair extensions with patience and precision is key to avoiding damage.
How to Remove Hair Extensions at Home
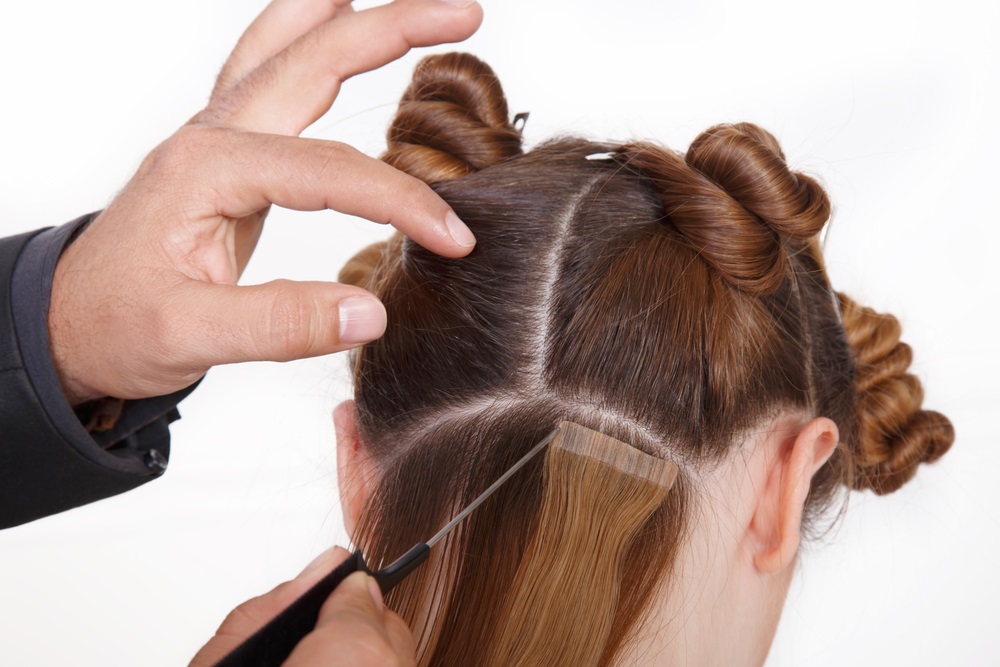
Removing Tape-In Extensions
Tape-in extensions are one of the easier types to remove at home. Start by applying an adhesive remover, which will help to loosen the tape. Once the tape begins to lift, gently peel it away from your hair, starting at the edge and working slowly to prevent any pulling. If the tape does not come off easily, apply more remover and wait a few minutes before trying again. After removal, thoroughly wash your hair to remove any remaining adhesive residue. Learning how to remove hair extensions like tape-ins safely at home will save you time and money.
Removing Fusion or Bonded Extensions
Fusion or bonded extensions are more challenging to remove and require special tools, such as extension pliers and bond remover. Begin by applying the bond remover to each bond, allowing it to break down the adhesive. Use the pliers to gently crush the bond until it loosens. Once the bond is loose enough, carefully slide the extension out of your hair. This process should be done slowly to avoid pulling on your natural hair, which can cause breakage. Knowing how to remove hair extensions that are bonded ensures a damage-free experience.
How to Remove Clip-In Extensions
Clip-in extensions are the easiest to remove and can be done in a matter of minutes. Start by locating the clips and gently unclipping them from your hair. Be sure to support your natural hair with your other hand to avoid pulling. Once all clips are removed, brush through your hair to detangle and remove any hair that may have shed during the process. Understanding how to remove hair extensions like clip-ins can simplify your beauty routine.
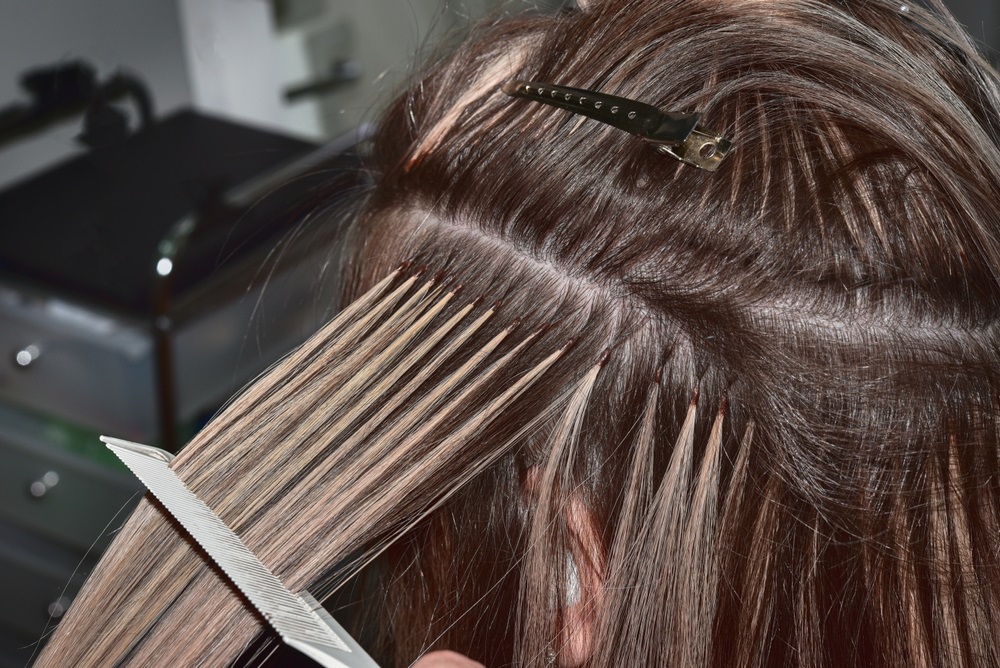
Removing Sew-In or Weave Extensions
Removing sew-in extensions requires a bit more care, as they are typically braided into your natural hair. Begin by cutting the thread that holds the wefts in place. Be careful not to cut your own hair in the process. Once all the threads are cut, the wefts should slide out easily. After removing the wefts, carefully unravel the braids and detangle your hair. Mastering how to remove hair extensions like sew-ins is crucial for protecting your natural hair from unnecessary damage.
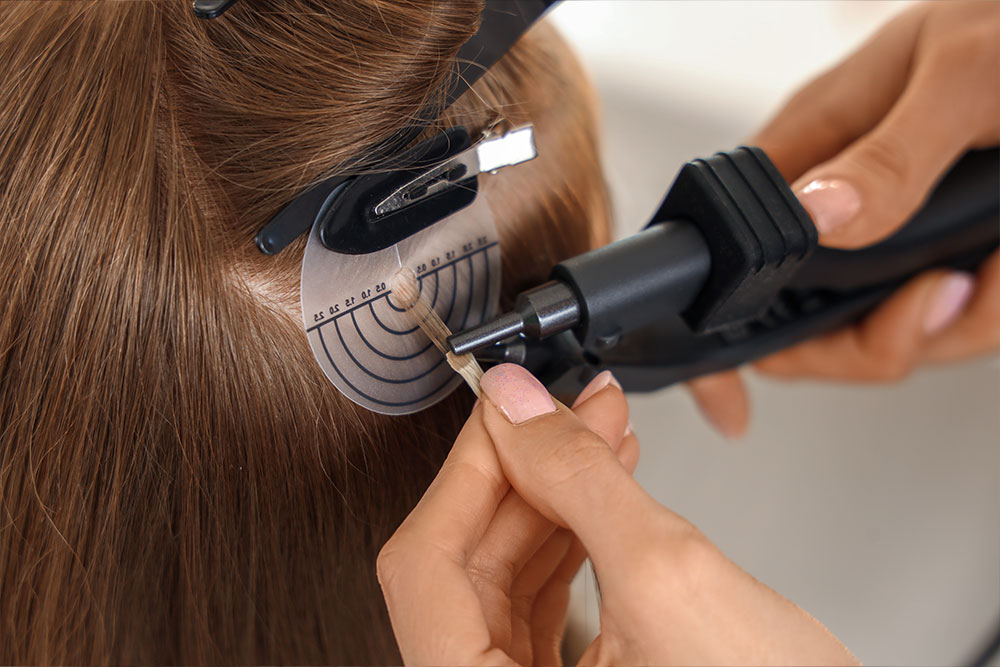
Removing Micro-Link Extensions
Micro-link extensions are attached to small sections of your natural hair using tiny beads. To remove these, you’ll need a pair of extension pliers to open the beads and slide them down the hair shaft. As with other types of extensions, work slowly and gently to avoid damaging your natural hair. Once all the beads are removed, brush through your hair to detangle. Knowing how to remove hair extensions like micro-links can save your hair from potential breakage.
Avoiding Damage During Removal
One of the most common mistakes when removing hair extensions is rushing through the process. This can lead to unnecessary hair breakage and damage. Another mistake is using the wrong tools or methods, which can result in hair loss or injury to the scalp. Always use the recommended tools and follow the correct procedures for your specific type of extensions. Being aware of how to remove hair extensions properly can save your natural hair from irreversible damage.
How to Handle Tangles and Knots
Tangles and knots are almost inevitable during the extension removal process. To handle them, use a wide-tooth comb and a detangling spray. Start from the ends of your hair and work your way up to the roots, gently teasing out any knots. Never force a comb through a tangle, as this can cause breakage. Understanding how to remove hair extensions while managing tangles will ensure a smooth and damage-free process.
Protecting Your Natural Hair During Removal
To protect your natural hair, always be gentle and patient. Avoid pulling or tugging, which can weaken your hair and lead to breakage. It’s also important to keep your hair moisturized during the removal process. Dry hair is more prone to damage, so consider applying a light leave-in conditioner before you begin. Knowing how to remove hair extensions while keeping your hair healthy is essential for long-term hair health.