

How to Put in Clip in Hair Extensions in 2024
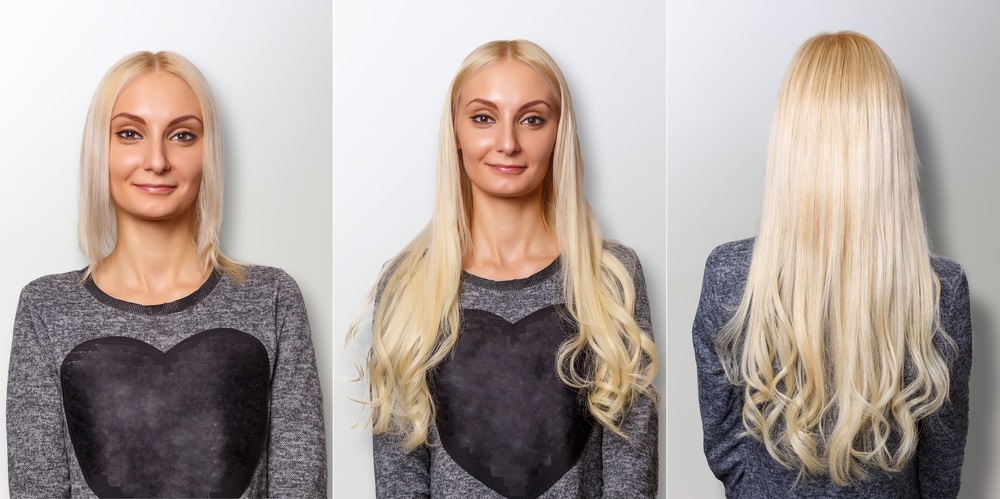
Clip-in hair extensions provide a convenient and temporary solution for adding length, volume, and even color to your natural hair. These extensions consist of hair wefts attached to small, flexible clips that can easily be integrated into your hair. They come in a variety of types, including synthetic and real human hair.
Synthetic clip-in extensions are generally more affordable but may not blend as seamlessly or last as long as human hair extensions. Human hair clip-ins, on the other hand, offer a more natural look and feel, and they can be styled with heat just like your own hair. One of the biggest advantages of clip-in extensions is their versatility, allowing you to experiment with different looks without committing to a permanent change.
They are perfect for adding volume and length for special occasions or trying out a new hair color without the damage of dye. Clip-ins are also ideal for those with fine or thinning hair, as they can instantly add fullness and body. Learn more in this blog post by Panache CK.
Preparing Your Hair
Before knowing how to put in clip in hair extensions, it’s crucial to prepare your natural hair properly.

Start with freshly washed and completely dry hair, avoiding any styling products to prevent buildup that could affect the extensions’ grip. Next, section your hair horizontally from ear to ear, creating a top and bottom section. Use a rat-tail comb to ensure clean, precise partings. Clip or tie the top section out of the way, leaving the bottom section free for extension application. Divide the bottom section into smaller, workable subsections, typically about 1-2 inches wide.
These smaller sections will make it easier to apply the extensions evenly and ensure they lay flat against your head. Use the rat-tail comb to tease or backcomb the subsections slightly, creating a textured base for the extensions to grip onto. With your hair properly sectioned and prepped, you can begin applying the clip-in hair extensions methodically, ensuring each piece is securely in place before moving on to the next.
Choosing the Right Extensions
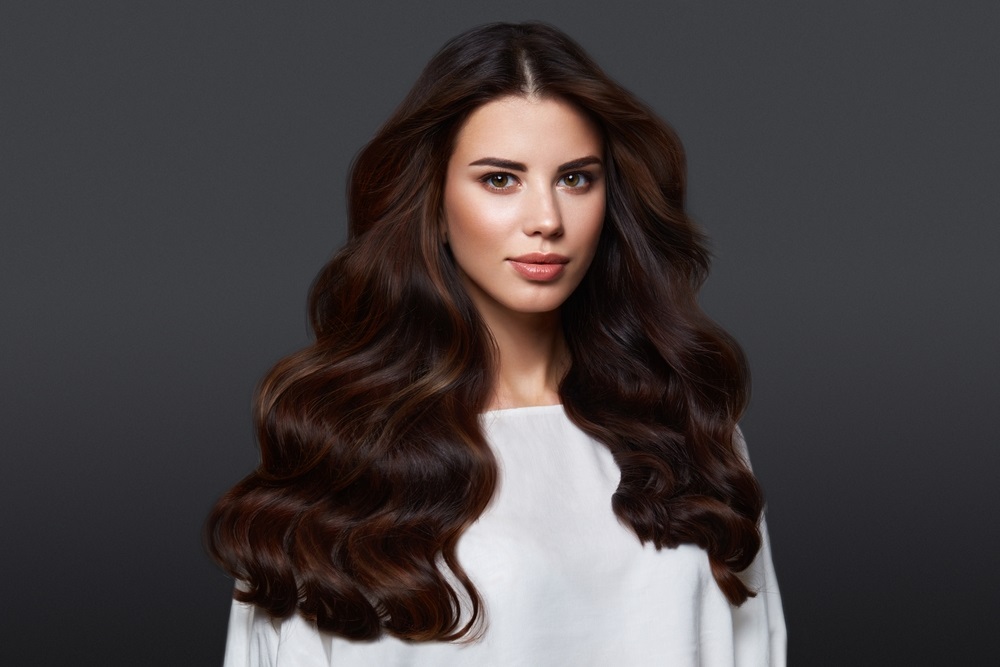
Selecting the right clip-in hair extensions is essential for achieving a natural and seamless look. The key factors to consider include hair texture, color, length, and quality. Extensions should match your natural hair texture as closely as possible. If your hair is straight, opt for straight extensions; for wavy or curly hair, choose extensions with a similar wave pattern or curl type. Mismatched textures can create an obvious, unblended appearance. Color matching is crucial for a flawless blend. Ideally, choose extensions in the same shade as your natural hair color or go for multi-tonal extensions that mimic your hair’s natural highlights and lowlights.
If you have dyed hair, it’s best to purchase extensions pre-colored to match your desired shade. Consider the desired length you want to achieve with extensions, and generally choose extensions that are no more than a few inches longer than your natural hair to maintain a natural look.
Overly long extensions can appear unnatural and may be challenging to blend. High-quality extensions are vital for longevity, manageability, and a natural appearance. Look for extensions made from 100% Remy human hair, which ensures that the cuticles are intact and aligned in the same direction, preventing tangling and matting.
Additionally, pay attention to the wefts or tracks—they should be sturdy, well-constructed, and free from excessive shedding.
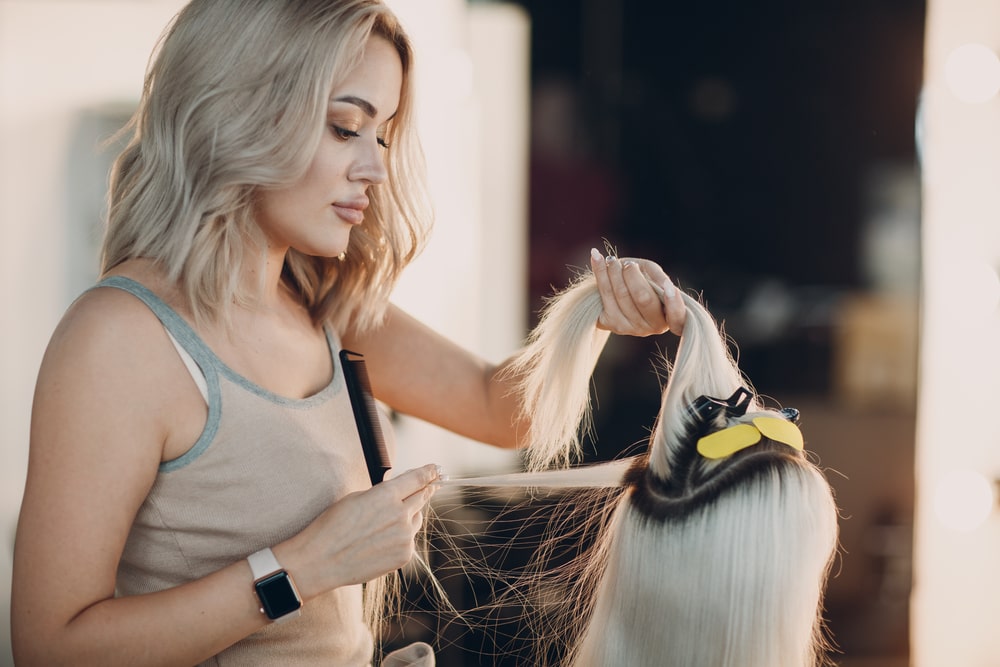
Application Techniques
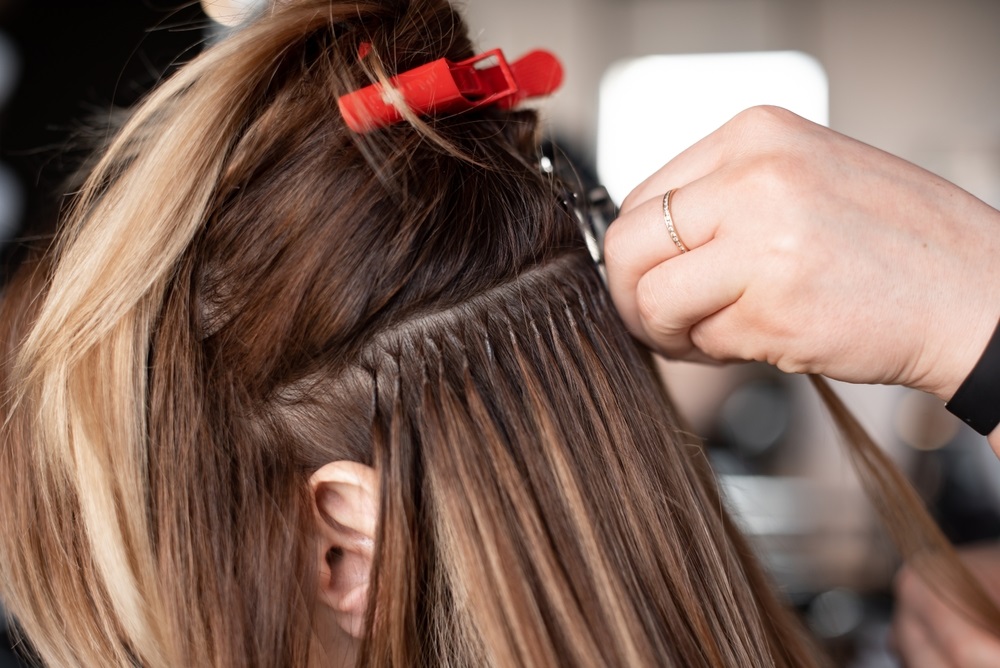
To apply clip-in hair extensions, start by sectioning your hair horizontally from ear to ear. Secure the top section with a clip or hair tie.
Take the weft of extensions and position it along the part line at the back of your head. Open the clips and gently secure the weft to your natural hair. Work in horizontal rows from the nape upwards, parting out a new section each time. Ensure the wefts lay flat against your head with no gaps or bumps. Blend the extensions with your natural hair by gently brushing over the top. As you move up towards the crown, angle the wefts following the curve of your head.
Place the shortest wefts at the front hairline. Take your time and double-check that each weft is securely clipped before moving on to the next row. Once all the wefts are in place, give your hair a final brush to seamlessly blend the extensions. Use your fingers to lightly tease and pancake the extensions into your natural hair for an undetectable, flawless finish.
Styling clip-in hair extensions requires proper techniques to ensure a seamless blend and to protect the extensions from damage. Before applying any heat styling tools, always use a high-quality heat protectant spray or serum.
This will create a barrier against excessive heat, preventing the extensions from becoming dry, brittle, or discolored. Apply the product evenly from mid-length to ends. When curling or straightening your clip-in extensions, work in small sections. Use a lower heat setting and avoid clamping the iron too close to the wefts or clips, as this can cause damage or tangling.
Gently glide the iron down the length of the hair, taking care not to tug or pull excessively. To achieve a seamless blend between your natural hair and the extensions, use a paddle brush or loop brush.
Start by gently brushing your natural hair, then gradually incorporate the extensions, blending them together. For a more polished look, lightly mist with a shine spray or serum to create a cohesive finish.
Remember, proper styling techniques not only enhance the overall look but also extend the lifespan of your clip-in extensions, ensuring they remain in pristine condition for longer.
Caring for Clip-In Extensions
Proper care is crucial for maintaining the longevity and appearance of your clip-in hair extensions. Always use a loop brush or a wide-tooth comb designed specifically for extensions to gently detangle the hair, starting from the bottom and working your way up to avoid tangling or shedding.
Be gentle and avoid excessive brushing, which can cause matting and damage. When washing, use a sulfate-free, color-safe shampoo and conditioner formulated for extension hair.
Gently massage the scalp and roots, avoiding excessive friction on the wefts. Rinse thoroughly to remove all product residue, as buildup can cause tangling and dullness. After washing, gently blot the extensions with a towel to remove excess moisture. Allow the extensions to air dry naturally, away from direct heat or sunlight.
Avoid rubbing or twisting the hair, as this can cause tangling and matting. When not in use, store your clip-in extensions in a cool, dry place away from direct sunlight or heat sources. Gently coil the wefts and secure them with a fabric-covered elastic band to prevent tangling.
Consider investing in a specialized extension storage case or box to keep them organized and protected. By following these simple care steps, you can extend the lifespan of your clip-in hair extensions and maintain their beautiful, natural appearance for longer.
Removing Extensions Safely
Removing clip-in hair extensions requires care and patience to avoid damaging your natural hair.
Always start by gently unclipping the wefts one by one from the roots down. Never yank or pull forcefully, as this can cause breakage and hair loss. Use a rat-tail comb or your fingers to slowly detach the clips, taking your time to ensure each piece is removed smoothly.
Once unclipped, gently slide the wefts out, working in sections and being mindful of any tangles or snarls. If you encounter resistance, stop and carefully detangle the area before proceeding.
Avoid tugging or ripping the extensions out, as this can put unnecessary stress on your natural hair and scalp. After removal, gently brush through your hair to remove any loose strands or shed hairs from the extensions.
Inspect your scalp for any irritation or redness and consider giving your hair a break before reapplying extensions to allow your scalp to breathe and recover.
When to Get New Extensions
In the context of how to put in clip in hair extensions, extensions can last anywhere from three to six months with proper care, but there are signs that indicate it’s time to replace them.
One of the most obvious indicators is excessive shedding or thinning of the extension hair. As the extensions are worn and washed repeatedly, the hair fibers can become damaged and start to fall out more readily.
Another sign that new extensions are needed is a noticeable dullness or dryness to the hair. Even with diligent conditioning, the cuticles of the extension hair can become roughed up over time, resulting in a dry, straw-like texture and lackluster appearance. Tangling and matting may also occur more frequently as the extensions age.
It’s also important to keep an eye out for any structural changes or damage to the clips and wefts that hold the extensions together. Cracks, loosening, or other deformities in these components can cause the extensions to slip out of place more easily, and will require replacement for a secure, comfortable fit. By staying attentive to the condition of your clip-in extensions, you’ll know just when it’s time to invest in a fresh, vibrant new set.
Clip-In Extension Trends for 2024
As we approach 2024, the world of clip-in hair extensions is set to embrace exciting new trends that cater to diverse styles and preferences. Expect a surge in demand for vivid and unconventional hair colors like neon shades of electric blue, hot pink, and vibrant purple. Additionally, muted pastels such as lavender, rose gold, and mint green will remain popular choices for a softer, more romantic look.
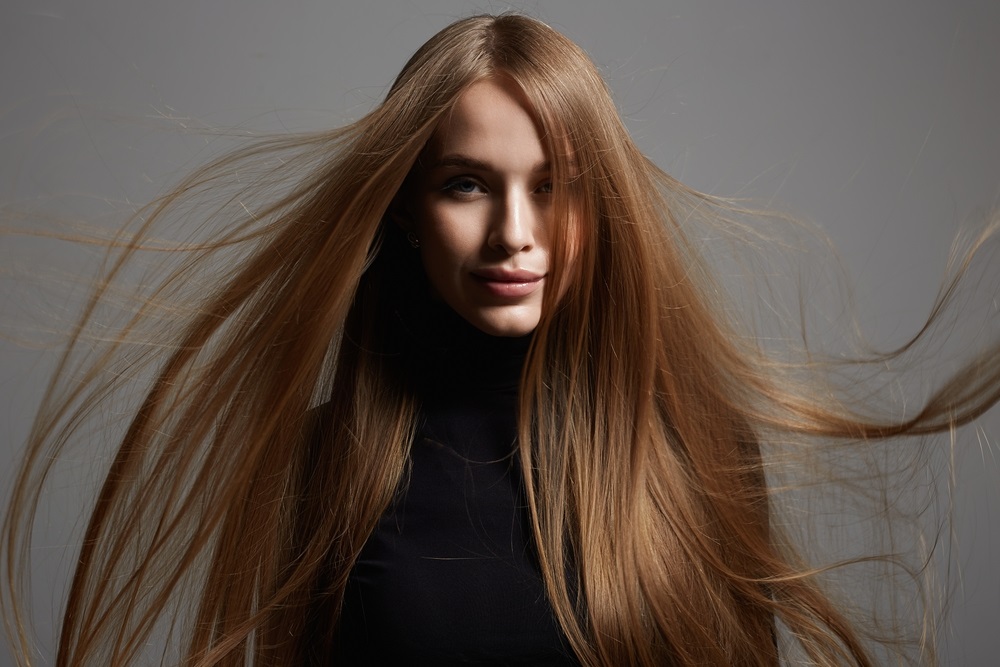
The year 2024 will also embrace a diverse range of textures, catering to different hair types and preferences. Silky straight extensions will continue to be a classic choice, while voluminous curly and wavy textures will add dimension and body to any hairstyle. Unique textures like beach waves and kinky curls will also gain popularity, allowing for more versatility and individuality.
While traditional lengths will remain popular, the trend for 2024 will lean towards longer extensions, with lengths reaching down to the waist or even the hips. These ultra-long extensions will create a dramatic and glamorous look, perfect for special occasions or those seeking a bold and attention-grabbing style. The application process for clip-in extensions is set to evolve with innovative techniques that prioritize comfort and ease of use.
Seamless wefts and invisible clips will become more prevalent, ensuring a natural and seamless blend between the extensions and your natural hair. Additionally, expect advancements in heat-resistant and color-protecting technologies, allowing for better longevity and vibrancy of the extensions.
Styles with Clip-In Extensions
Clip-in hair extensions offer incredible versatility, allowing you to experiment with various hairstyles and updos.
Updos are a classic and elegant choice for formal events or special occasions. With clip-in extensions, you can achieve voluminous and intricate updos that would be challenging with your natural hair alone. Incorporate extensions into a chic chignon, a romantic updo with face-framing tendrils, or a sophisticated French twist for a glamorous look. Braids are not only trendy but also a fantastic way to showcase your clip-in extensions.
Create thick, luscious braids by weaving in extensions for added length and volume. Experiment with intricate styles like fishtail braids, Dutch braids, or even a trendy boxer braid for a bohemian vibe. Ponytails are a simple yet chic hairstyle that can be elevated with the addition of clip-in extensions. For a sleek and sophisticated look, opt for a high, tight ponytail with extensions seamlessly blended in for added length and fullness.
Alternatively, try a voluminous wavy ponytail or a trendy bubble ponytail for a playful and youthful vibe. With clip-in extensions, the possibilities are endless when it comes to creative hairstyles. Incorporate extensions into intricate half-up, half-down styles or create stunning waterfall braids cascading over your shoulder.
For a truly unique look, try a faux hawk or a twisted updo with extensions strategically placed for added texture and dimension. The key to achieving flawless styles with clip-in extensions is proper blending and seamless integration. Experiment with different techniques and don’t be afraid to get creative—the versatility of clip-in extensions allows you to embrace your inner hair artist!
When to Use Permanent Extensions
While clip-in hair extensions offer versatility and convenience, permanent extensions may be a better choice for some individuals.
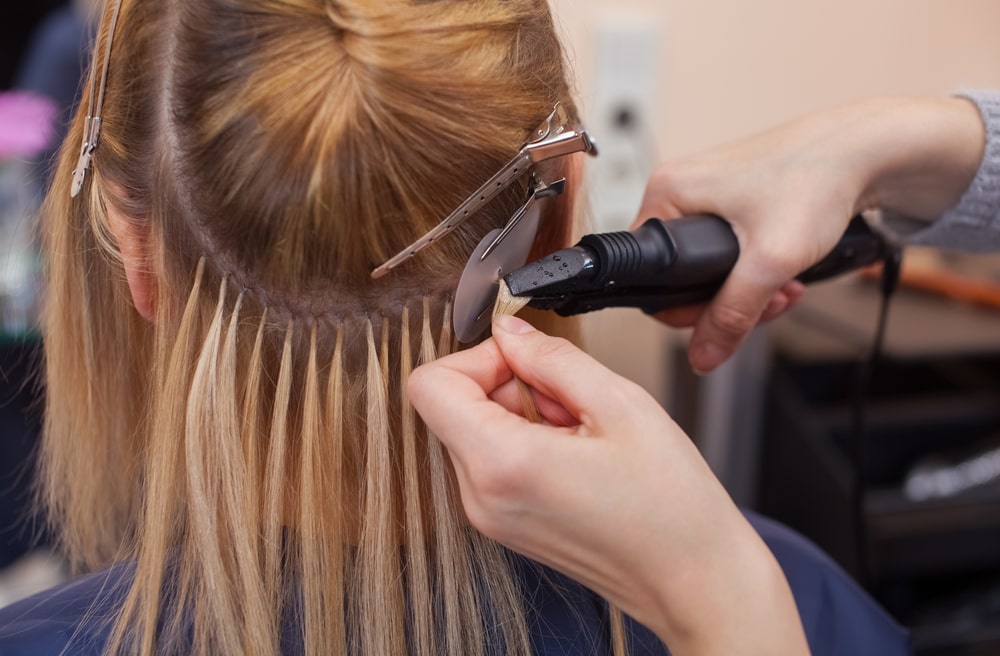
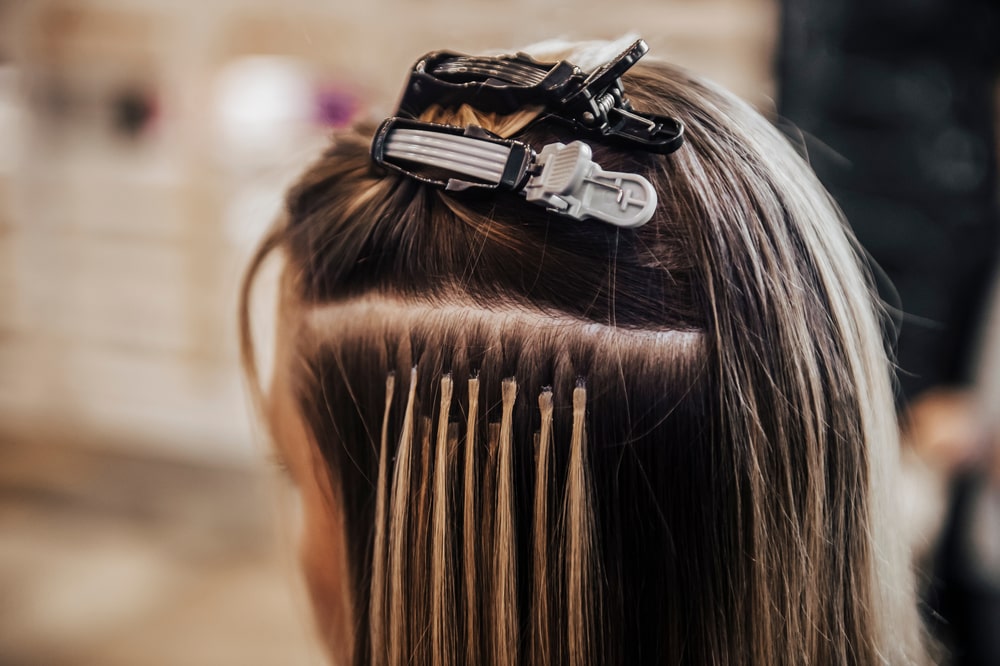
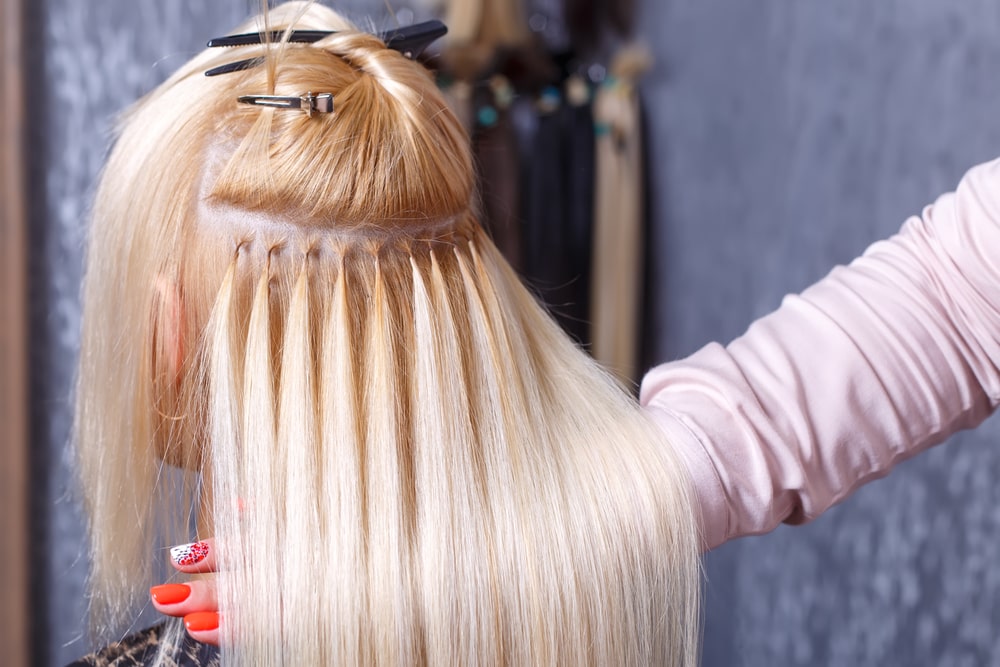
Permanent extensions, such as tape-ins, micro-links, or keratin-bonded extensions, are semi-permanently attached to your natural hair, providing a seamless and long-lasting solution. Advantages of permanent extensions include longer wear time, with permanent extensions lasting anywhere from six to eight weeks with proper care and maintenance.
They also offer a more natural appearance, blending seamlessly with your natural hair and creating a flawless, undetectable look. Permanent extensions allow for versatility in styling, unlike clip-ins, which may shift or become visible with certain hairstyles. With permanent extensions, you can style your hair freely without worrying about exposing the attachments.
They also save time in the long run, as you won’t need to spend time clipping and unclipping extensions daily. Permanent extensions may be a suitable choice for individuals with an active lifestyle, those who frequently style their hair, or those seeking a more low-maintenance solution. However, it’s essential to consider the potential for damage to your natural hair and the ongoing maintenance required, such as regular tightening or adjustment appointments with a professional stylist.
FAQ
You asked, we answered: